
Monday, January 19, 2015
January 19, 2015 Update
Got the front brakes, wheel, and fender off tonight. Cleaned up a bunch of stuff around there too. Also noticed for the first time some black crud and oil seeming to be built up around the front part of the head gasket.

Tuesday, January 13, 2015
Slight change in direction and Goodies!
So after heading some good advice, I've actually scaled back my ambitions quite a bit and will likely stick with the stock air box and collector (which means I'm now looking for the right side fairing covering the air box). This will make it a bit more difficult for me to achieve the brat look I was originally going for but will also mean a lot less work and money spent on the bike. Oh well, this bike is a really nice example of a build that involved minimal modifications to achieve a really nice looking ride.
The way the bike is now, it makes sense to me to continue to strip it down, clean it up, and paint it (just the frame and motor for now). Next will be to put it all back together to see if I can get it to run. I feel committed to this bike and if I do encounter problems with the motor, I already potentially have a line on a nice looking 400T motor!
On another note:
Some goodies have arrived!


Didn't realize that I would need to buy two carb kits (one for each carb!). D'OH


Also found a collector in awesome shape (Thanks flyswat2006!; Check out his amazing street tracker build!). Already took a wire brush to it.
 It's a good thing I did because as you can see what a little tap on the old collector produces:

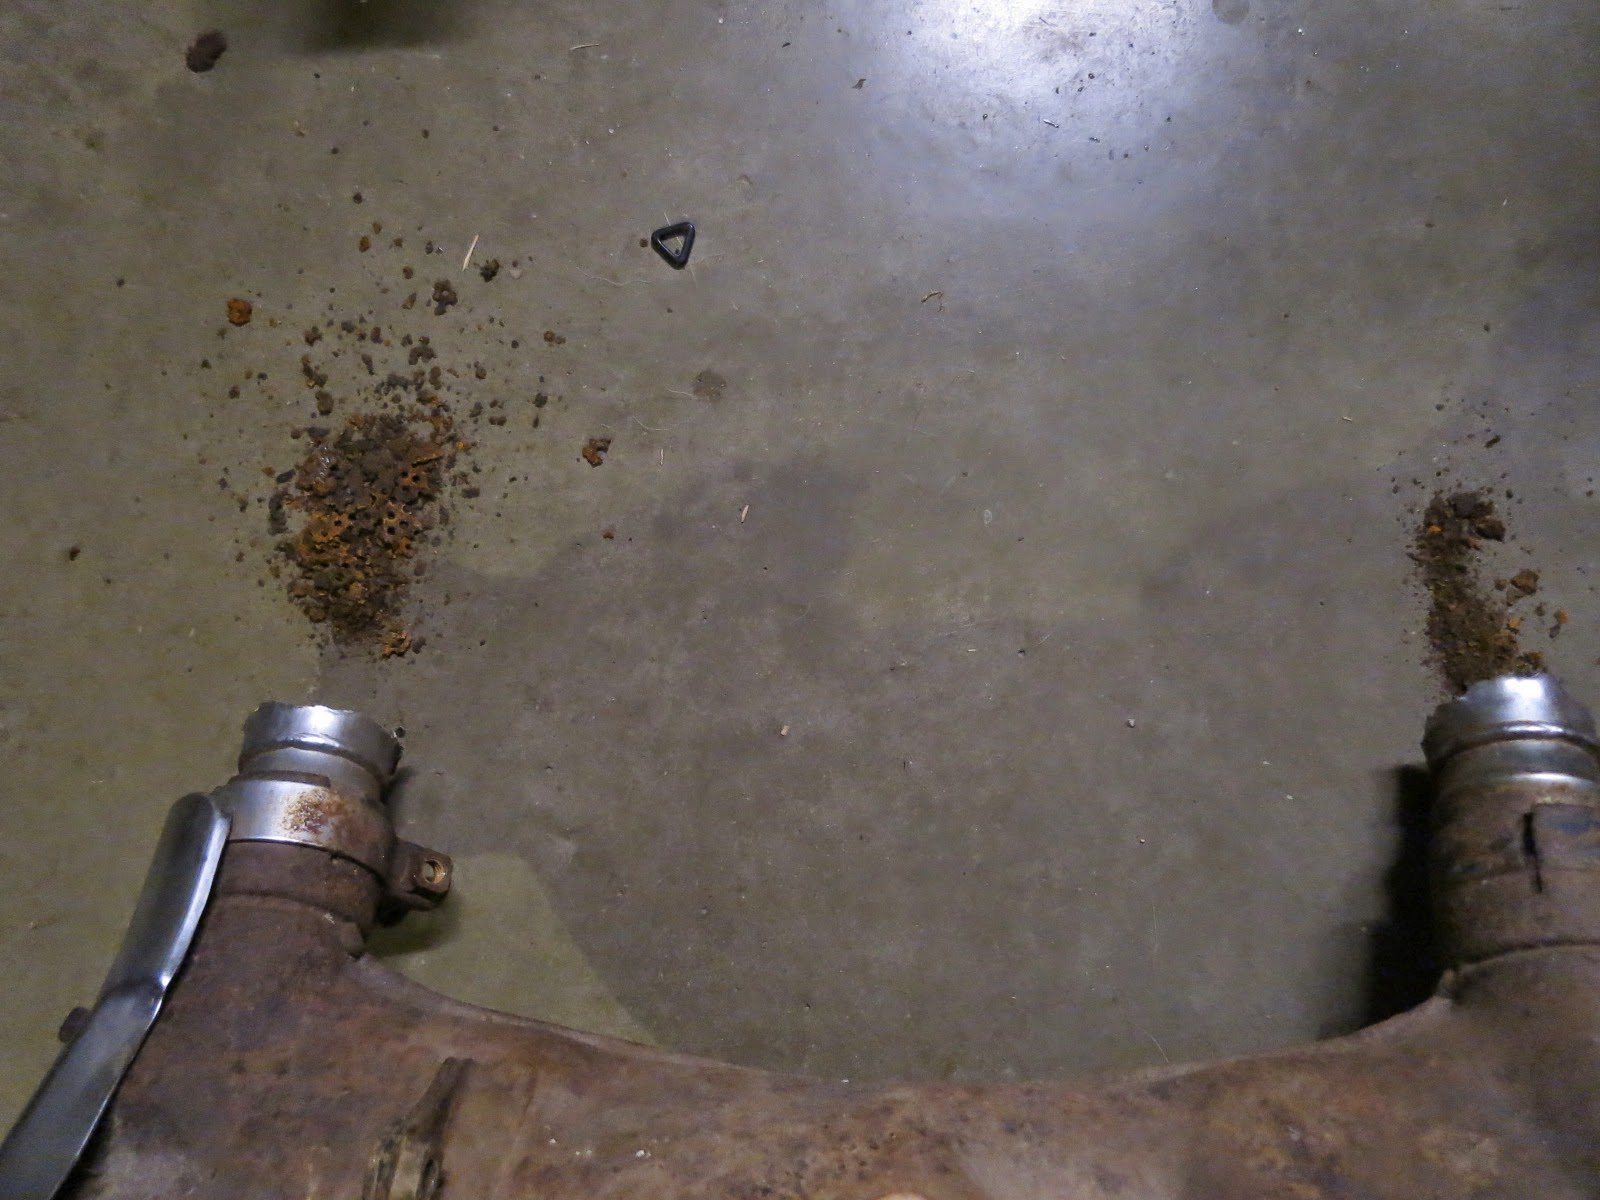
Just tonight I found a line on a set of mufflers from a 1999 Harley Davidson FXDX for $50 not far from me. Seller says the O.D is just over 1.75 and I measured the diameter of what was left of my mufflers stuck in the rusty collector and it appears that they should work! Will likely need to fabricate some sort of bracket.
The way the bike is now, it makes sense to me to continue to strip it down, clean it up, and paint it (just the frame and motor for now). Next will be to put it all back together to see if I can get it to run. I feel committed to this bike and if I do encounter problems with the motor, I already potentially have a line on a nice looking 400T motor!
On another note:
Some goodies have arrived!
Didn't realize that I would need to buy two carb kits (one for each carb!). D'OH
Also found a collector in awesome shape (Thanks flyswat2006!; Check out his amazing street tracker build!). Already took a wire brush to it.
Just tonight I found a line on a set of mufflers from a 1999 Harley Davidson FXDX for $50 not far from me. Seller says the O.D is just over 1.75 and I measured the diameter of what was left of my mufflers stuck in the rusty collector and it appears that they should work! Will likely need to fabricate some sort of bracket.
Monday, December 29, 2014
More progress
So I actually had a few hours to work on the bike yesterday. I got the carbs off and opened up the right crank case cover to have a look in there (mostly because I want to polish up the right crank case cover). It looked very clean in there. I got a bit of dirt in some of the gears when I took the cover off because there was dirt hiding behind part of the case, but I brushed it out with a tooth brush. The intake valve chamber has quite a carbon build up. Wondering if I should try to use my rotary tool to get rid of it or just take the heads off completely to clean and re-build the top end...

Carbon build up in the intake valve chamber (if that is what it is called...).


Bike is looking pretty bare now.
.JPG) Sorry no pics of the inside of the right crank case.
Sorry no pics of the inside of the right crank case.
Carbon build up in the intake valve chamber (if that is what it is called...).
Bike is looking pretty bare now.
Saturday, December 27, 2014
Progress Report
So I've been doing a few things here and there. Mostly taking things off and cleaning. When I took off the exhaust the exhaust outlet inside the motor had quite a bit of black carbon build-up inside. Hope I shouldn't be too worried about that.
I also ordered a whole bunch of parts, mostly boring stuff like gaskets, rear shock mount rubbers, master cylinder cup, throttle cables, but the more exciting parts were new tires and new headlight housing.
I removed the collector and cleaned up the drive sprocket:

I definitely won't be re-using it:

Cleaned up the rear wheel a bit:
Before:

After:

Tried to get final drive sprocket out but I'm not sure how to remove the seal in front. Will have to look that up in the shop manual.
Cleaned up and wire brushed the Swing arm:
Before:

After:

Will definitely need painting. Plan on re-painting the whole frame actually.
I also ordered a whole bunch of parts, mostly boring stuff like gaskets, rear shock mount rubbers, master cylinder cup, throttle cables, but the more exciting parts were new tires and new headlight housing.
I removed the collector and cleaned up the drive sprocket:
I definitely won't be re-using it:
Cleaned up the rear wheel a bit:
Before:
After:
Tried to get final drive sprocket out but I'm not sure how to remove the seal in front. Will have to look that up in the shop manual.
Cleaned up and wire brushed the Swing arm:
Before:
After:
Will definitely need painting. Plan on re-painting the whole frame actually.
Monday, December 15, 2014
Learning
So I've been watching Mr.Polecat's excellent and invaluable instructional videos to boost my confidence with rebuilding my carbs. There are 23 videos just for rebuilding the carbs! This is amazing. Thanks Mr.Polecat!
Still have lots to watch and learn before starting.
Thinking this still may be very challenging with no real shop space where I can't guarantee that my kids won't come along and spill my parts tray (or that I won't mess up on my own). That may need to be a prerequisite step before I even attempt doing this, finding a space.....wait a minute, my cold storage room is lockable! that might just be wear I will work on my carbs...
Still have lots to watch and learn before starting.
Thinking this still may be very challenging with no real shop space where I can't guarantee that my kids won't come along and spill my parts tray (or that I won't mess up on my own). That may need to be a prerequisite step before I even attempt doing this, finding a space.....wait a minute, my cold storage room is lockable! that might just be wear I will work on my carbs...
Thursday, November 20, 2014
Sanding
Last night, I did a bit of sanding on the left crank case cover (AKA stator cover)
From this:

To this:

I used 400 grit wet automotive sand paper. Planning on slowly moving up to 2000 grit. I think I will be painting most of it black except for the round part so will only try to get that part really shiny.
UPDATE: this is after 600 and 1000 grit.

UPDATE: went up to 1500 last night

From this:
To this:
I used 400 grit wet automotive sand paper. Planning on slowly moving up to 2000 grit. I think I will be painting most of it black except for the round part so will only try to get that part really shiny.
UPDATE: this is after 600 and 1000 grit.
UPDATE: went up to 1500 last night
Next Steps
Ok so last week was a new milestone. I got the bike out of the trailer! And wow, do I have a lot of work ahead of me.
So far, I've determined that:
I'm missing:
a chain tensioner / adjuster:

bolts for the stator cover (or left crank case cover). Also, the gasket on the stator cover is pretty much non-existent.

Headlight housing and handlebars. I do have the front chrome headlight housing but not the rear. The left headlight bracket is also broken.

The right side exhaust is rough shape and the left side is non-existent. Also, the collector looks really rough and the shields have been cut off with an angle grinder. I would like to get rid of it anyway and get after market exhaust but am also not looking forward to re-jetting the carbs.

I'll be relying on the shop manual as well as some on-line parts stores that have blow out diagrams for parts lists to figure out where everything goes.

At this point the wire harness is completed striped off but all the connectors look to be in fair to good condition.
I've tracked down the stator cover bolts and chain tension adjuster but before I spend any more money, my next and biggest priority is to get the bike back together so that at a bare minimum, I can get it to turn over and possibly even started. I'm not entirely sure what that bare minimum is but for starters I'll hook up the spark plug wires, battery, and as much of the wire harness up as I can. I'm sure having handlebars to connect the throttle too would be helpful as well.
So far, I've determined that:
I'm missing:
a chain tensioner / adjuster:
bolts for the stator cover (or left crank case cover). Also, the gasket on the stator cover is pretty much non-existent.
Headlight housing and handlebars. I do have the front chrome headlight housing but not the rear. The left headlight bracket is also broken.
The right side exhaust is rough shape and the left side is non-existent. Also, the collector looks really rough and the shields have been cut off with an angle grinder. I would like to get rid of it anyway and get after market exhaust but am also not looking forward to re-jetting the carbs.
I'll be relying on the shop manual as well as some on-line parts stores that have blow out diagrams for parts lists to figure out where everything goes.
At this point the wire harness is completed striped off but all the connectors look to be in fair to good condition.
I've tracked down the stator cover bolts and chain tension adjuster but before I spend any more money, my next and biggest priority is to get the bike back together so that at a bare minimum, I can get it to turn over and possibly even started. I'm not entirely sure what that bare minimum is but for starters I'll hook up the spark plug wires, battery, and as much of the wire harness up as I can. I'm sure having handlebars to connect the throttle too would be helpful as well.
Subscribe to:
Posts (Atom)